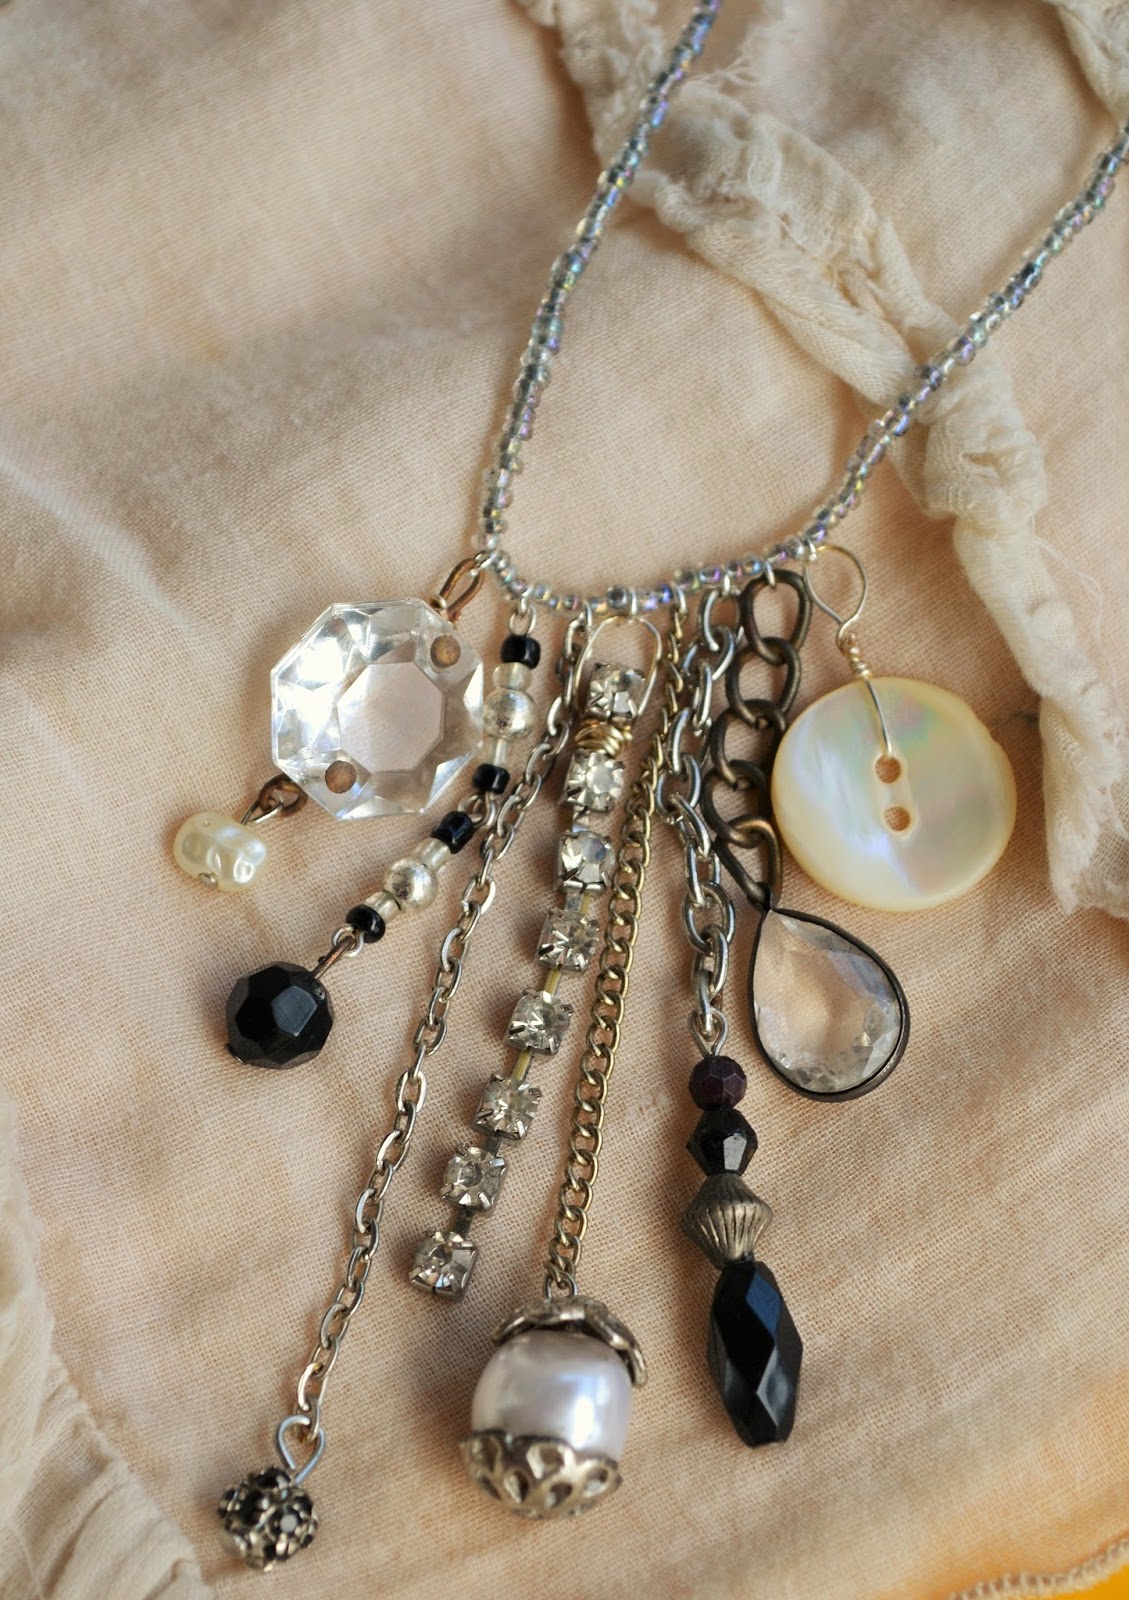
March's DIY Project
Re-Assemblage Charm Necklace...
from The Charm Hunter
 |
| "Re-Assemblage" Charm NecklaceDesign by The Charm Hunter |
What is Re-Assemblage? Assemblage art was born as an act of recycling and repurposing. Fundamentally, it is accomplished by taking something that is broken (or without use in its current form) and putting it together with other found objects to create a piece of art. Like pieces of a puzzle, you too can use found elements to re-create something new, beautiful and one-of-a-kind.
The Charm Hunter's Supply List:
- Seed bead necklace
- Miscellaneous chains, 5 short pieces
- Rhinestone strand
- Crystal Chandelier Glass Disk
- Miscellaneous beads, pearls, bling, crystals, buttons, etc
- 24 gauge beading wire
- 3mm jumprings
- 2 pair jewelry pliers
 |
| My Big Beautiful Mess! I'm really a very organized person, but somehow I always end up working with a pile that looks like this! |
STEP by STEP...
As always, make use of what you have. Mismatched earrings, broken chains, buttons, and out of style jewelry pieces can transformed. And as I've always said, SAVE YOUR BROKEN JEWELRY. Don't throw ANY part of it away; you'll be amazed at all the tiny components (findings) that you will re-use!
 |
| And of course, my famous jar of broken chains. |
 |
| I used 24 gauge silver beading wire, only because that's what I had on hand. You can use silver or brass, and/or a thicker wire (The smaller the gauge, the thicker the wire) |
 |
| Use your wire to wrap around findings to make loops whereby you can add jumprings to attach to necklace |
 |
| Here I added a single pearl to the bottom of a chandelier piece. Again, if a headpin or wire loop is missing, make your own with beading wire |
 |
| I played around with varying lengths of chain and added my miscellaneous beads to then ends |
 |
| I used tiny 3mm jumprings to attach each different length of chain to the necklace. HINT: lay them all out and play around with placement BEFORE attaching to the necklace |
Wallah!
See other Assemblage Jewelry
I hope you've enjoyed this month's DIY.
Even more-so, I'd like to see YOUR projects!
Please post and share your re-assemblage projects here.
Warmest Aloha, Susan, aka The Charm Hunter
Visit my shop, One Charming Treasure


No comments:
Post a Comment