Thursday, June 20, 2013

History Matters...


Just read an interesting article, "History Matters" that validates why  I love 
what I do...creating family keepsakes and custom photo charms from the 
past AND the present.  The author shares his passion for historic preservation 
and why it's meaningful in all our lives.  I couldn't agree more.

Custom Family Photo Chimes

"History is about learning about our family, a 
concentrated effort to preserve our heritage."

Create instant heirlooms for all your loved ones with favorite family photos.


Preserve your heritage with custom photo charms

Custom Family Photo Charms


So whether you're a photographer, scrapbooker or jewelry maker,
start preserving YOUR family heritage!


Monday, June 10, 2013

DIY Button/Brad Jewelry...

make a lovely piece of jewelry this afternoon!

Who'd - a - thought?  Use fancy buttons to create beautiful jewelry...
That's right, you can use buttons, fancy or plain, to re-create your own jewelry.
You can find buttons just about anywhere, craft stores, fabric stores, online
or from your family's very own button collection.  You can also use those 
scrapbooking brads as long as they have openings to add jumprings to.


Just about any button will do, just add jumprings!
Once you've added jumprings to the sides of your buttons or brags,
attach them to beaded chains.  They can be rosary beads, pieces of a
broken beaded necklace, etc.  Experiment with bead colors and sizes.

Broken pieces of beaded chains are re-born when small
pieces are added to buttons or brads to make a new piece

                              I used broken beaded rosary chain links to attach to my fancy 
                                 buttons to re-create a new bracelet.  Add a toggle closure to ends.


Five small fancy buttons were used, plus ten 3/4" beaded chain pieces to create this beautiful bracelet

Don't limit buttons and brads to just bracelets.  Use the same technique for
creating necklaces, anklets, charms and pendants too!


Tuesday, May 28, 2013

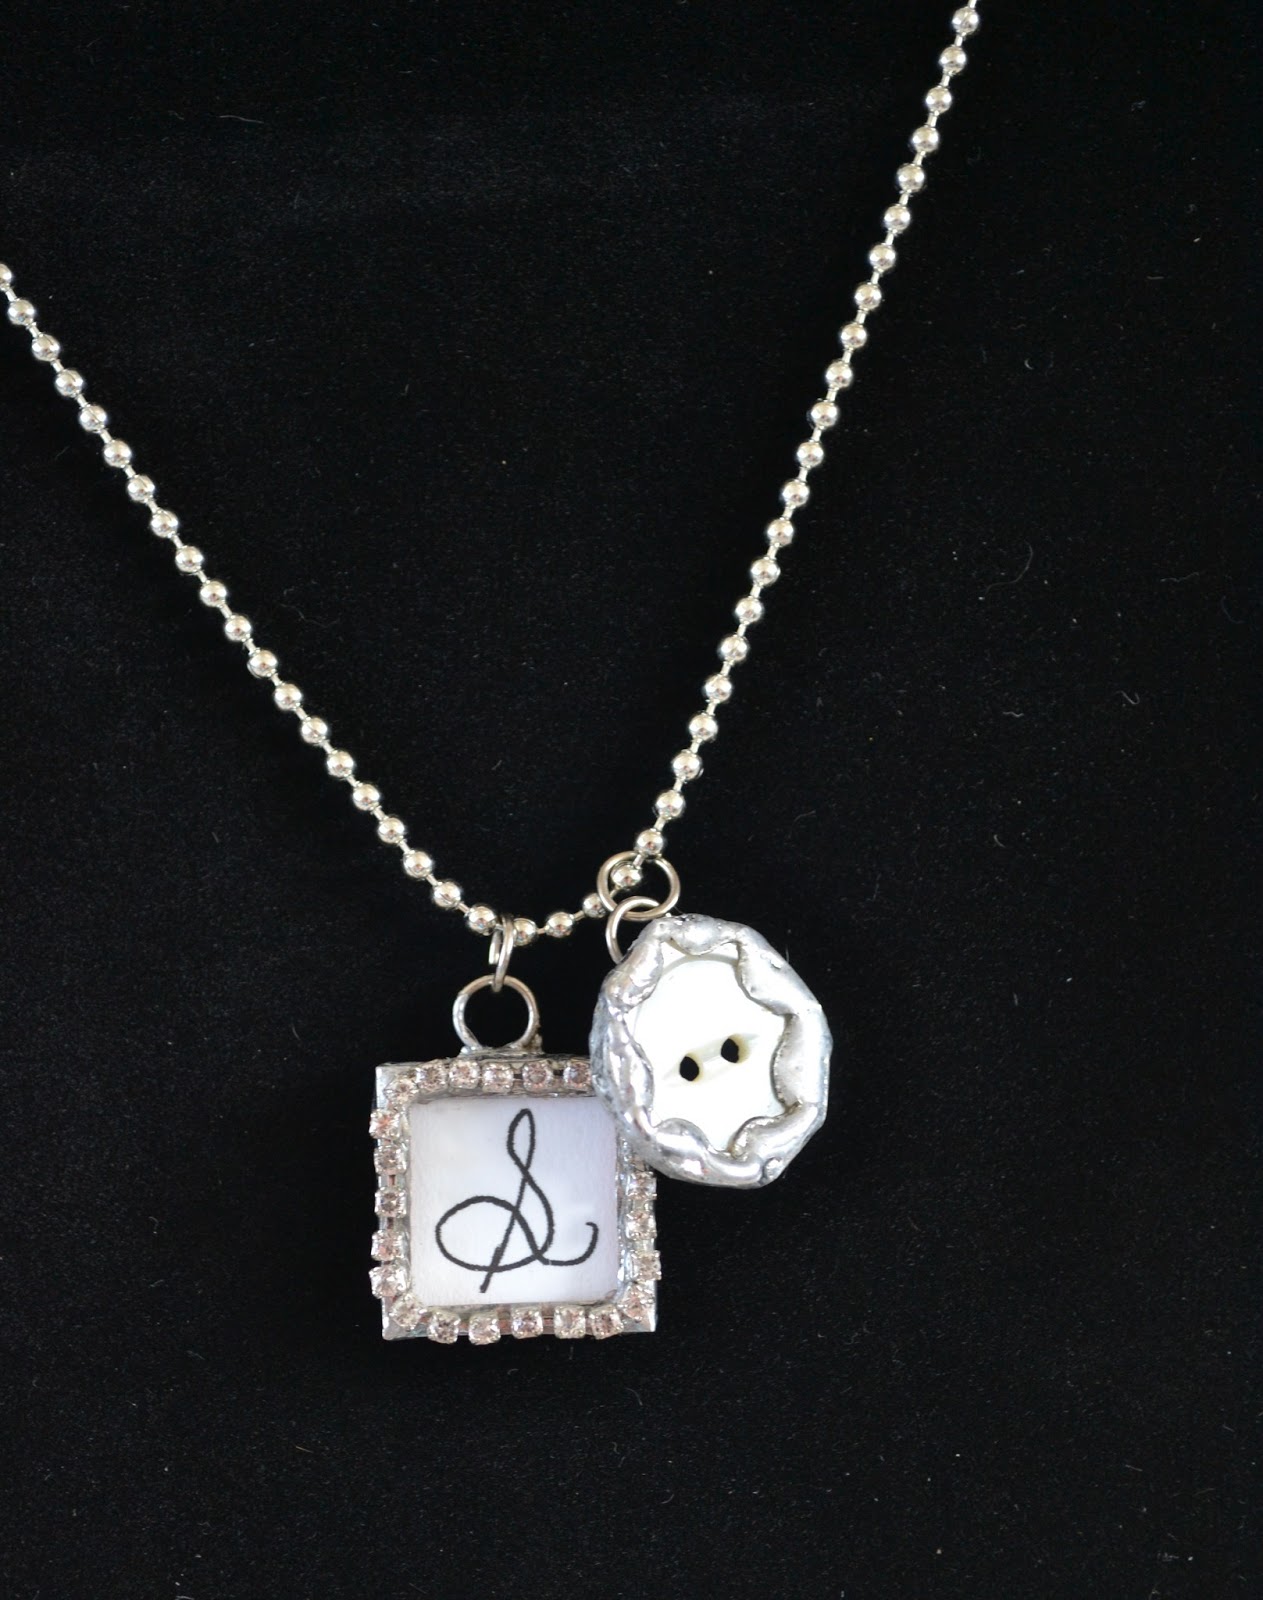
          DIY Vintage Style Initial Charms...

You can achieve this same "Vintage" look
with or without soldering
If you're not soldering, you can still achieve a similar look by using 
silver ball chain, and your own photo paper and printer.


Practice on regular paper then copy to a heavy
quality photo paper and cut to size
You can add seed beads OR rhinestone strands.
If you use seed beads, I recommend sticking
them in the tray first and then cover with a glaze.
Any glaze you use will appear
milky but will dry clear.  

If using the rhinestone strand, fill with glaze about 3/4 full,
then carefully lay the rhinestone strand around the perimeter
on top of the glaze.  The weight will cause the glaze and the
rhinestone strand to rise.  You can always add more glaze 
to the center to bring to desired height.  Pop any air bubbles
with a needle.


Now if you are soldering, follow steps above, but instead of
placing in a pendant tray, sandwich between glass, wrap with
copper tape and solder.  You can use your initial between
glass or other items, such as lace, a feather, a dried 
pressed flower or a lock of baby hair; the possibilities
are endless, but the end result is beautiful!


Please Like this on Facebook... I have a lots of ideas to 
offer and would love for you to keep connected!

Wednesday, May 22, 2013

Spring showers bring May flowers...


And who doesn't like roses?  I saw the most beautiful rose print pendant 
under glass on pinterest.  Have you heard of this photo idea sharing site?  
It's addicting, let me tell you, but it has an abundance of useful ideas.  
Some photos have links to additional information, others do not.  
The pendant I saw did not have a source or tutorial attached to it, 
but I figured out how to make my own and you can too! 

You can use salvaged chandelier pieces, buy individual crystals on etsy or purchase a set in your local craft store from Tim Holtz brand.


place prism over desired image to fit
I used a magazine image of a bouquet of roses
cut image to fit back side slightly smaller
than the prism itself; punch hole through
the image with a needle to meet the
hole already in your prism
  
paint adhesive on back of prism,
place paper image so the image
  shows through the front.                                                                                  

OK, pretty simple so far.  Once you've cut out your image to fit slightly smaller than your prism, 
glue to the underneath side. Usea needle to poke a hole through the paper to the hole already on 
your prism.  Coat another layer of glue to the back.  At this point you can glue another final cut 
out paper to the back side that will serve as your backside.  This can be script from a book, bible, 
magazine, song sheet or just pretty (or plain) patterned paper.  Thinner paper is easier to work 
with.  Follow the same procedure by adding a heavy coat of adhesive and punching a hole through.
The adhesive will dry clear, even though it goes on thick and milky.  (You may need to press down
some ends of the paper to help adhere)


meticulously wrap and trim in copper foil

   
This is where you can take your 
project to the next level.   The 
pendant is beautiful as is, but I    
L O V E   to solder.  Silver 
soldering not only adds value, 
but it's that hand made one-of-a-kind 
artisan look that  I'm looing for.
completely encase flat back


solder away!


beautiful shapes and sizes are available to experiment with


You can embellish with rhinestones as shown here and use a variety
of chains & necklaces to showcase your piece
B E A U T I F U L

                                                                       see other images here


For more custom gift ideas, like us on facebook where new ideas, 
products and inspiration added regularly. 


Tuesday, May 14, 2013

A Mother's Day Surprise...

         I was reading one of my favorite magazines, Real Simple, and came across an
         interesting factoid received from their Mother's Day online survey:

         "When we asked moms for the most meaningful gift they had ever received, 
      30 percent said it was homemade."     (May 2013)


      I couldn't agree more!  This was a custom made charm bracelet featuring a mother's
      greatest joy, her precious grandchildren; honoring "Nana" this Mother's Day :)

                                                                   
                                                                 See other images here

                                                                  Additional gift ideas
   

Saturday, April 20, 2013

Simple DIY Vintage Charm

Saw THE cutest vintage looking charm on a lady the other day and commented on how cute it was so I could buy more time to study it and take the mental notes!  I noticed the filigree frame right away since I already had some at home :)   She told me her son bought it for her birthday from a local boutique.  A very sweet gift indeed.  Here's my rendition of the charm necklace.


This project requires 5 minimal materials:    Filigree charm base, any chain you may already have, rosary link or even an eyeglass necklace will do, a single jumpring, a Vintage looking image cut from a card or downloaded and printed from free or purchased images available online, and lastly a clear sealant.

That's it!  This would make a lovely Mother's Day gift.  (hint, hint)

See other gift ideas here.

Tuesday, April 9, 2013

What to do on a quiet afternoon?

The house is empty, it's my day off and I just spent the afternoon doing what I love, making charm jewelry. I just completed the final assembly for a special order I've been working on, a retirement charm necklace gift.  Ahhh, retirement....can't wait!


This was made to order with a custom company logo charm, airplane charm, hand stamped "Enjoy the Journey" charm, hand stamped employee number, a uniform button, and strand of rhinestones.
A wonderful retirement gift, a memento of years of service.
Congratulations!

See other samples of retirement charms here.